Blurring the line between less is more…
Oh, there’s such a difference between men and women. From the way our brains are wired – our motivators to our of beauty. Some say it’s our incompatibility that makes us such a good match. It’s not totally hopeless though because when we do compliment each other, we sing. With all our differences there are many common grounds. Some things we can agree on; Soap always tastes bad and generations through several millennia of recorded time have found the feminine form to be alluring.
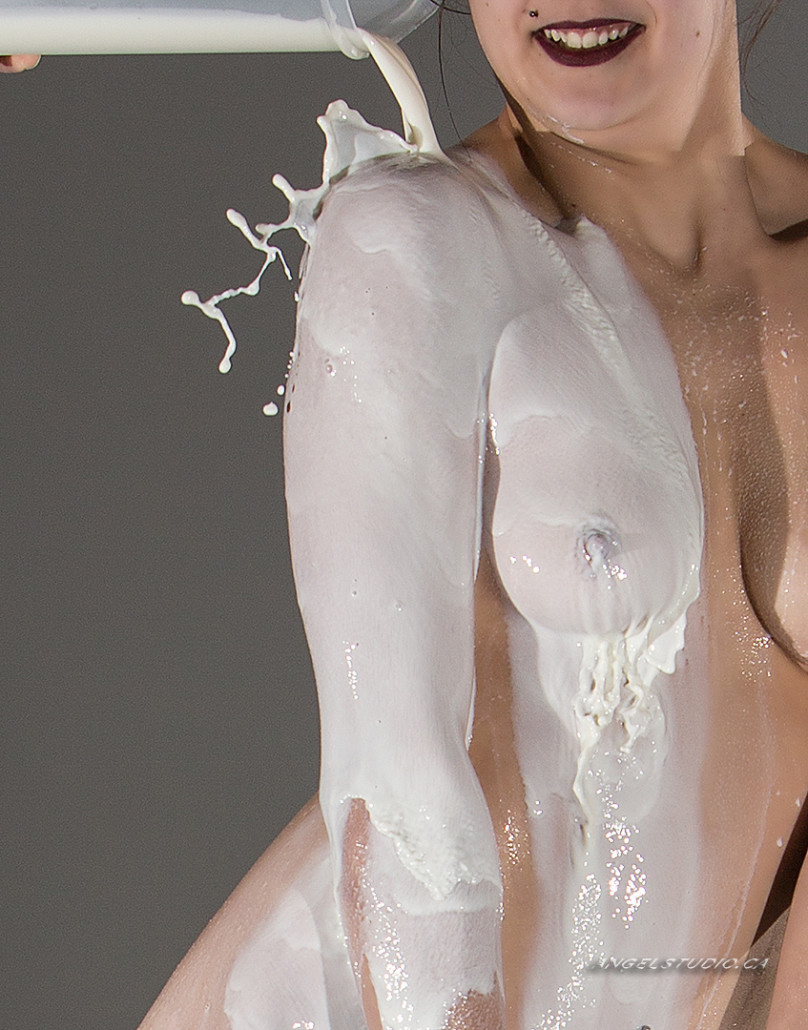
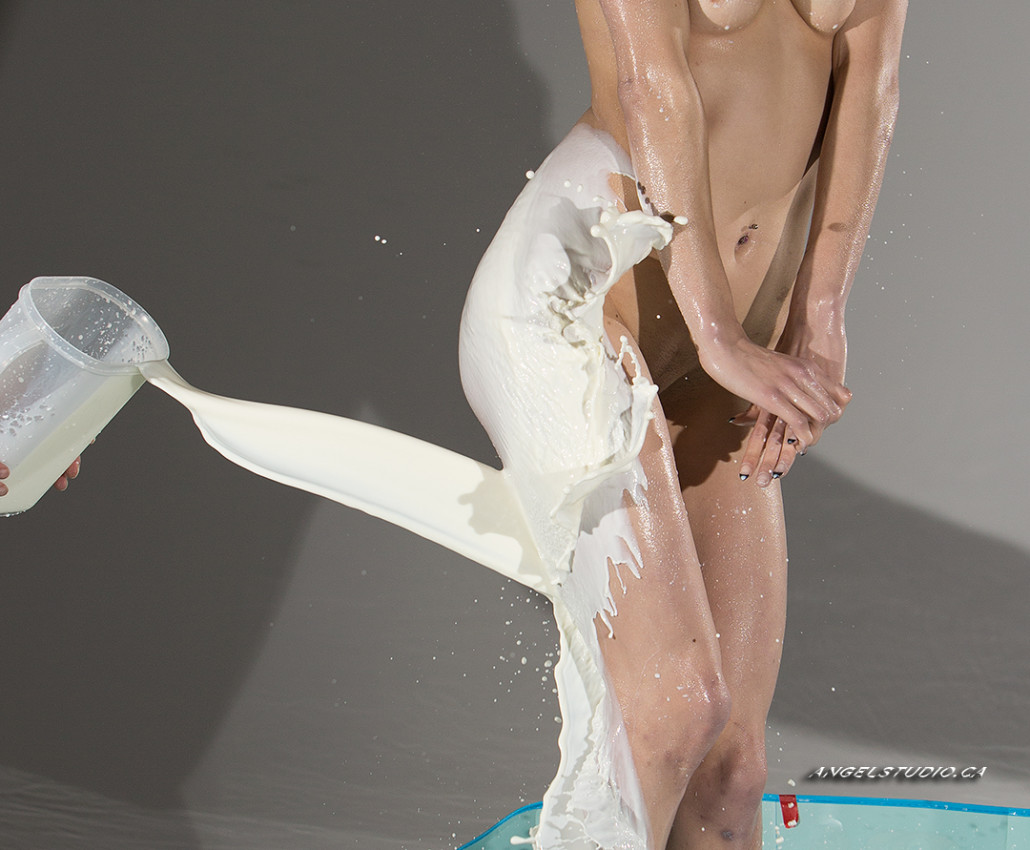
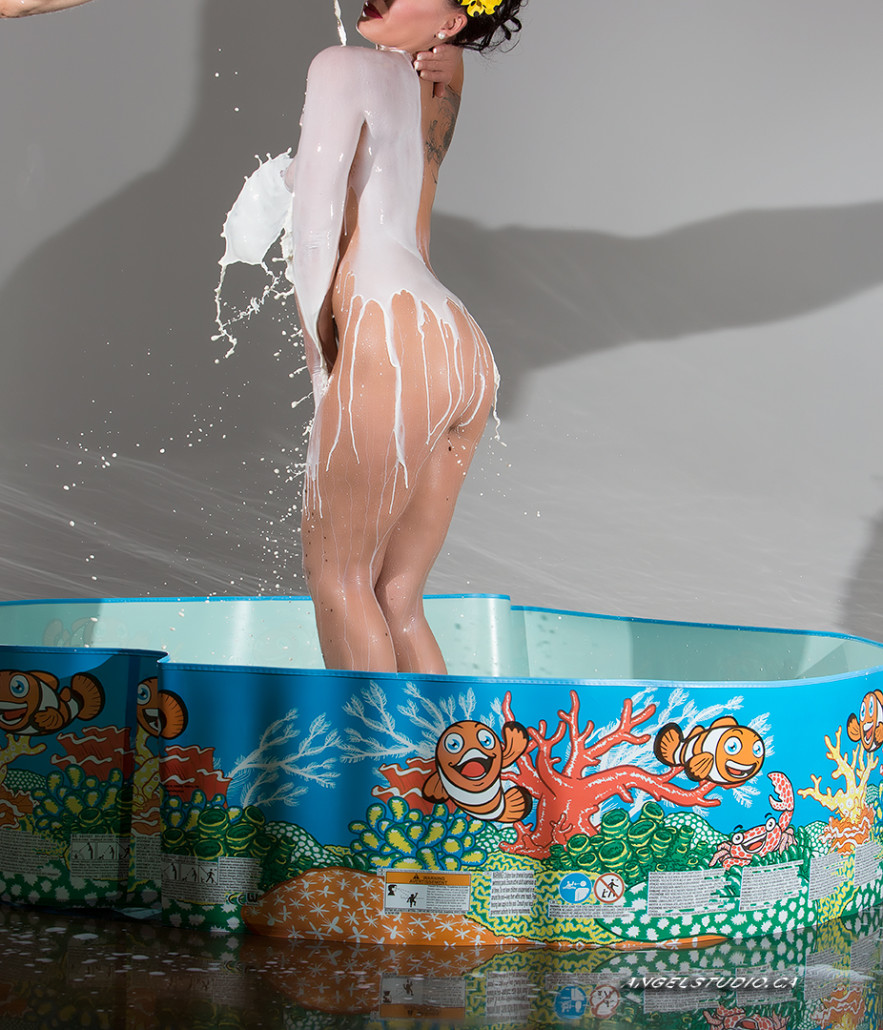
We’re not arguing. We’ll go with the flow! Milk over skin seems to fit that bill. Along the same lines as make up is meant to enhance what’s already there, milk enhances curves with shadow and hotspots just where you need it. In this series we wanted to celebrate our model’s curves. In keeping with the pin up ideology of yesteryear – with innocent, but forbidden glimpses of contours and skin, which in our minds just makes it all more appealing than without.
What has changed since the first caveman chipped hips from a piece of stone and now is our medium to convey. Although still thriving as an art form, sculpting is not our strong suit. If offered paints, we’d confidently manage stick people. Whereas photography seems to suit our niche quite well, we’ll stick with what we know.
This blog entry will focus on our experiences in the studio capturing a milk dress. We’ll talk a lot about methods of achieving a high speed capture. We’ll cover a few model issues – how to select and what she can expect. We’ll talk about tools used. We won’t talk about post production work this time unless we allude to it in the studio. If you were thinking of trying this complicated expression on for size yourself, this might interest you. If you were curious about what goes on behind the scenes, feel free to read on as well.
If you have had any experience in the studio behind the lights you already know that 1/200second is the fastest you can shoot on most SLR cameras out there. This speed is called x-sync, speed sync or flash speed sync. This is a mechanical limitation imposed on the two curtain system of exposing your sensor. After that you start to photograph your second curtain which shows up as a black bar on one side of the image. In essence you are photographing the inside of you camera. X-sync is certainly not fast enough to capture milk in motion.
We need to capture rivulets They last microseconds and they’re in motion. To freeze an image we shoot at 1/2000/second. We predict the industry will move towards electronic shutter systems in the future, but for now there’s a few go arounds. First thing you need to know about capturing milk dresses is high speed photography.
First, the technical stuff. One huge factor to remember is that the industry as a whole calls it high speed photography. Manufacturers of camera equipment have their own proprietary names. They all sound similar. Canon has IS (image stabilizer) and High Speed Sync whereas Nikon has VB and FP. They both do the same thing. Different names. We shake our fists in muted outrage, yet nobody listens.
There are 3 or 4 ways to achieve high speed photography. I’ll substantiate that vagueness later.
The easiest and least expensive way is to be in a totally darkened studio. You leave your shutter open and rely on a speed gun (hot shoe mountable flash unit) for illuminating your subject. Speed guns have a very short light duration. Depending on the power output asked of it. A short puff can last only 1/50,000th of a second. That’s fast! Their output is so fast and the drop-off of light so abrupt that in effect, we are using the speed gun itself as a shutter. The downside is this method wouldn’t let us see the subject, hence we’d be shooting in the dark. Visions of our milkman pouring milk and completely missing the model flew through our heads. Comedic, for sure, but hardly productive. We rejected that method. For more information on this technique click here.
The second way to achieve high speed photography is with something called hyper sync which apparently is exclusive to Pocket Wizard. This method is counter intuitive. One would think a quick light is best – a short duration puff of light. This method uses the studio strobes weaknesses to achieve that high speed capture. It delays firing your studio strobe till the last millisecond and counts on big light output to last long enough for the curtain slit to pass over the sensor. So here, a big light with long duration works better that faster you shoot. For more of a description of hyper sync and how it works click here.
This appealed to us as it allows us to use existing studio strobes and triggers. The problem we found is that the image produced was well lit on the right side of the frame, but a gradient faded off to bottom of the frame ruining about 1/3 of our sensor real estate. Shutter speed made no difference. We tried blasting the dark side with more light. Still a gradient got in the way. To be truthful, all our equipment has full sized sensors. We are curious if APS sized sensors would have worked better. Whatever the case, it was time to move onto a better system.
Another method is called high speed sync or HSS. Basically you have your speed guns strobe flash at precise moments when the curtains are passing over the sensor. It is controlled by wizards that live in your speed gun. You ask for 1/2000th of a second and the wizards work out how many pulses of light you’ll need to light your entire sensor through a curtain slit. It worked, but we found it to be a huge battery drain and the guns would heat up something fierce. It meant downtime waiting for speed guns to cool off. We felt this broke the flow of the shoot, so that method was eliminated.
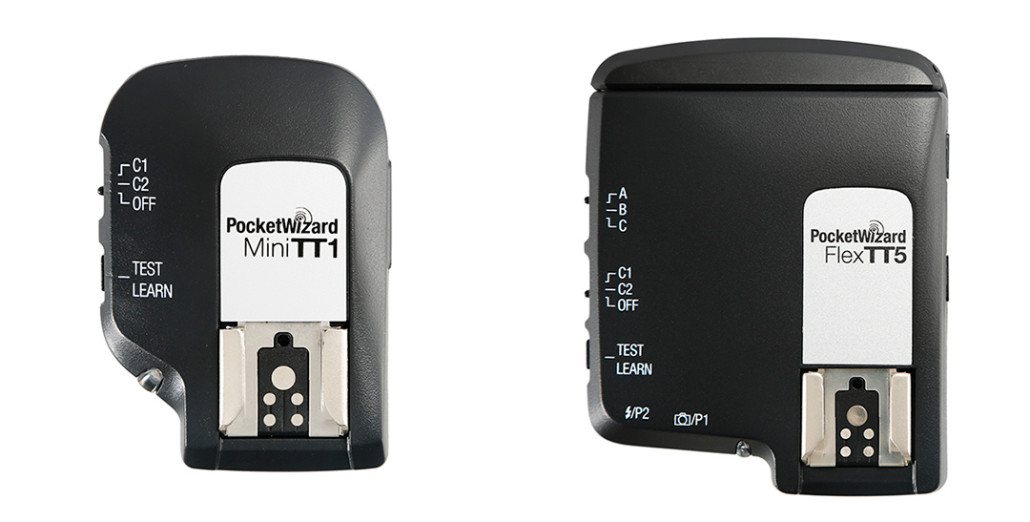
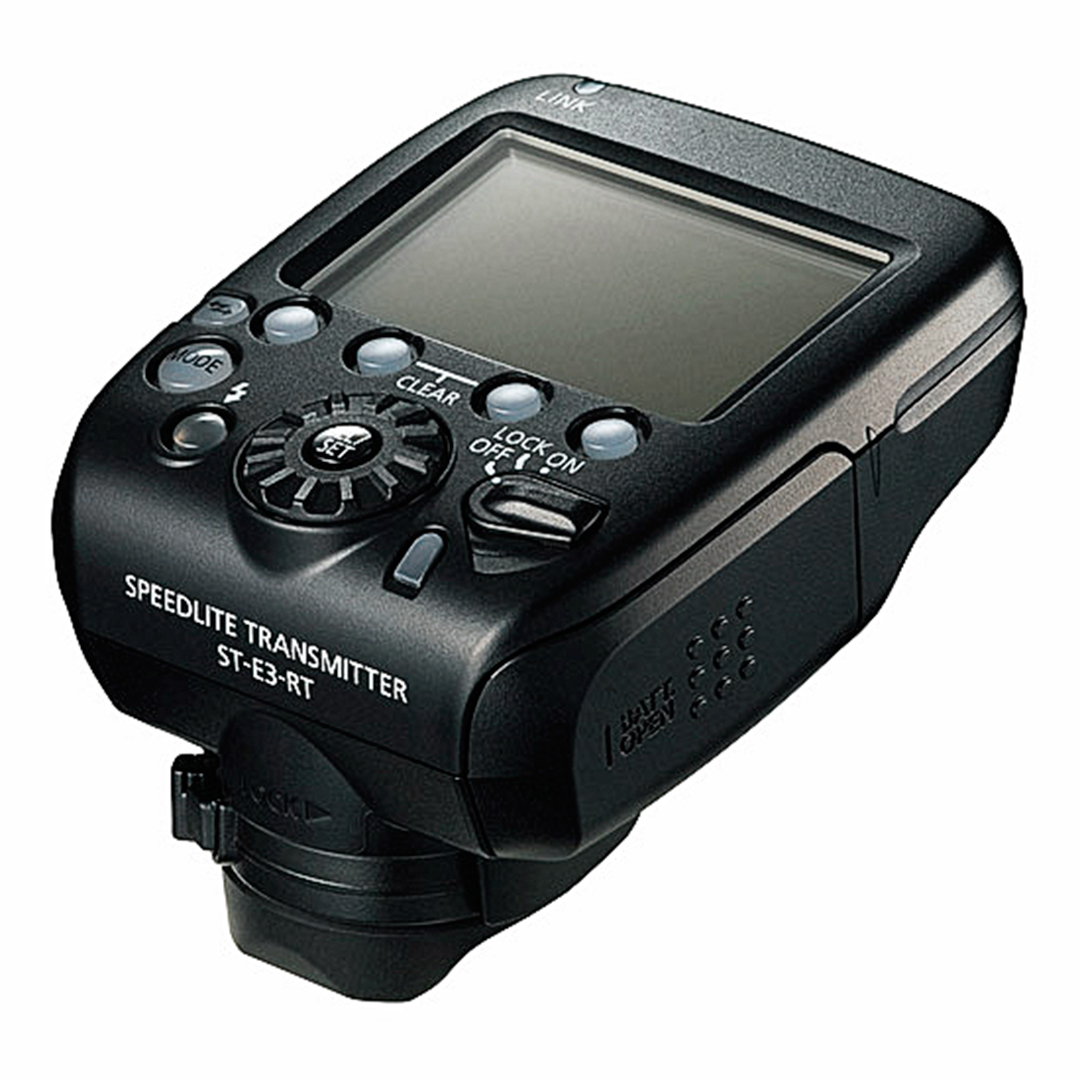
A little while ago Canon released a new body, the 5D Marklll, a new speedlight (600ex-rt) and trigger (Commander ST-E3-RT). More importantly, with one blast of light capture up to 1/8000th of a second. One blast of light sounds an awful lot like Hyper Sync, doesn’t it? To make it less confusing they could have called it HSSll but Canon called their new system High Speed Sync or HSS which was the name of the strobing speed gun method. This is why we claimed earlier 3 or 4 ways to achieve high speed photography.
However it was exactly what needed! Since we were looking for another body, we..well…slipped and accidently bought everything. These units were meant to be together. The commander controls the speed guns via radio waves from the comfort of your SLR hot shoe. Even out an out-of-sight speed gun can be activated. This was how we released our equipment from x sync into the brief world of high speed photography. It worked!
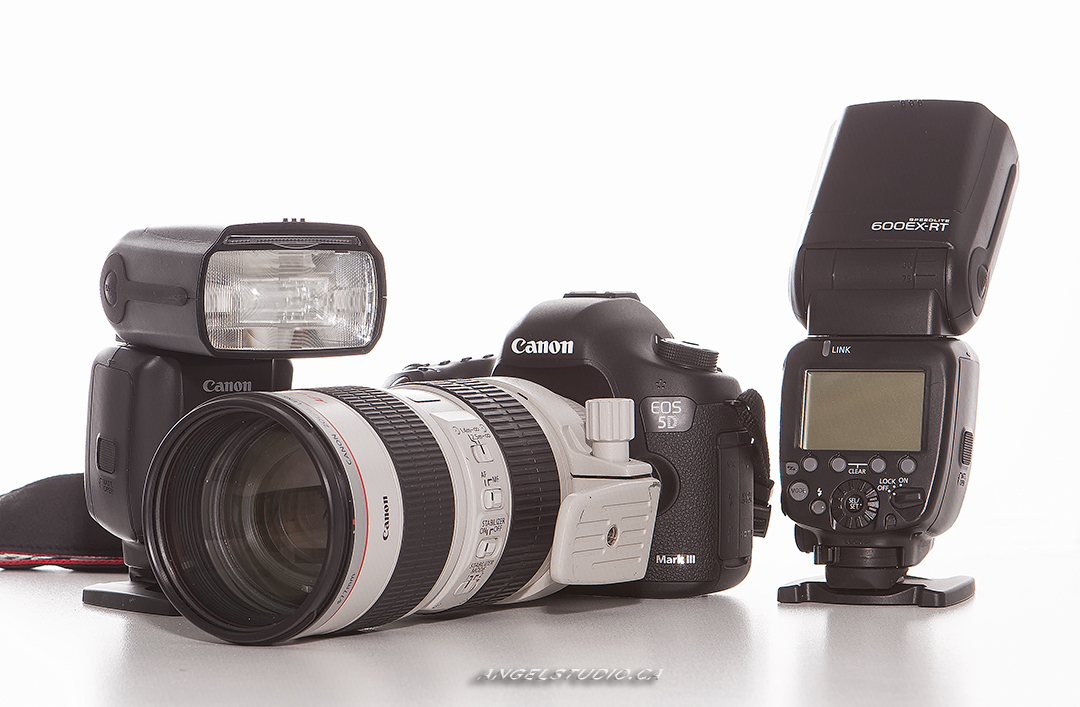
The tools we use to achieve this are a 5D Marklll SLR, a 70mm-200mm F2.8 L lens, a tripod, a shutter release because you’ll never see the detail you need to through your view finder. On the hot shoe we use a Canon ST-E3-RT Commander transmitter which talks to 3 Canon 600-EX-RT speedlights. The 5D Marklll mates with this trigger and speedlights. 3 light stands, 3 adapter for speed guns to fit light stands, a kiddie pool, large tupperware container, 12 litres of milk, several pouring vessels with different spouts. Paper towels, rags, access to a drain and water – TSP (removes milk well) and of course last, but not least, fresh batteries all around
Some photographers like to make it hard on themselves. They scoff at automatic settings. Yes, our camera is in manual mode for the shoot, but when you dial in “automatic” on the commander, no matter what you dial into the SLR, the image is perfectly exposed. Even milk doesn’t get clipped. Impressive with a multi speedlight arrangement. The TTL feedback is that precise. For those not into photography you just need to know we do it with expensive equipment that has lots of black buttons and menus and of course, inside each piece resides a magic gnome. Want more? Click here.
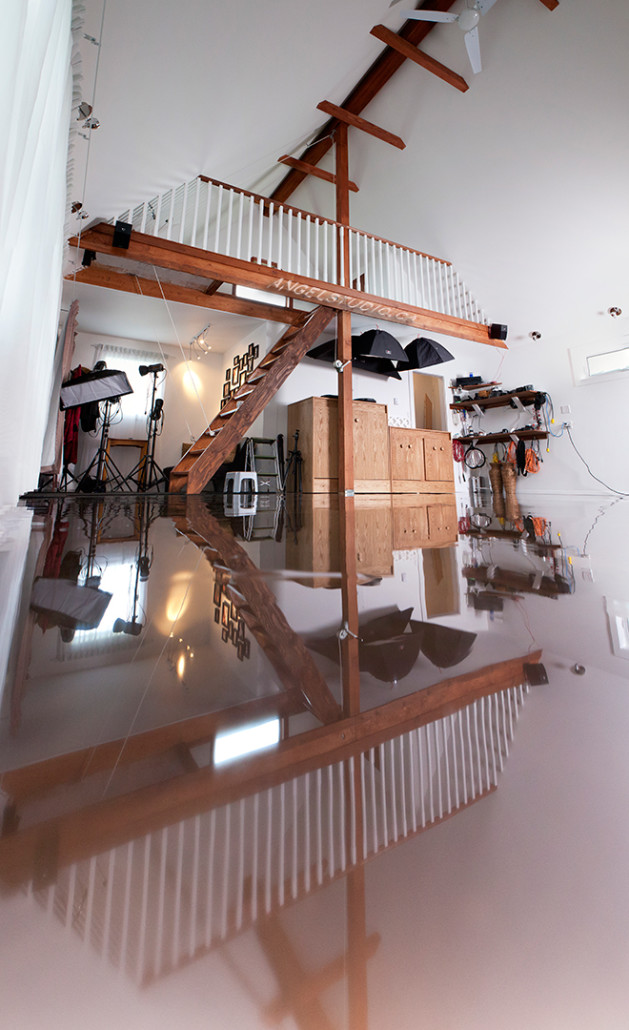
A studio! Get one because the spouse of the photographer who will let this happen in the living room hasn’t been born yet. A garage can work. You’ll appreciate headroom. Look for a space that has it. Rent one if you can. Because milk turns to yogurt quicker than you’d think make sure that clean ups are easy too. We’ve used vapour barrier to black tarps to capture spray. Even if your floor is covered with tarps shoot only on well sealed concrete or wood floors. Some is going to get away from you.
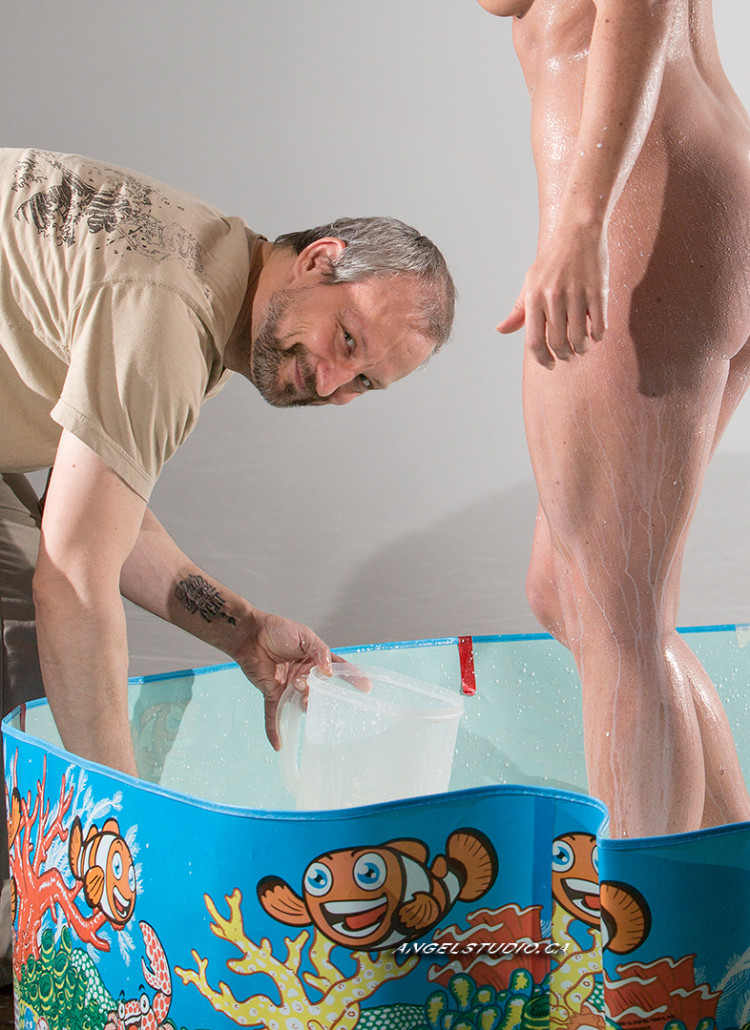
Introducing the ‘milkman/woman/person’. This is Carl. He is the lucky person who will be conveying milk through the air onto a woman who will be nude. If you are ever a milkman, you have a guarantee of best story what you did this afternoon among your friends. This person is surprisingly easy to find! Ironically, we aim for somebody who won’t be distracted in a very distracting environment. This lets out many applicants. As always, the image, our product is the most important thing. That’s why we have assembled.
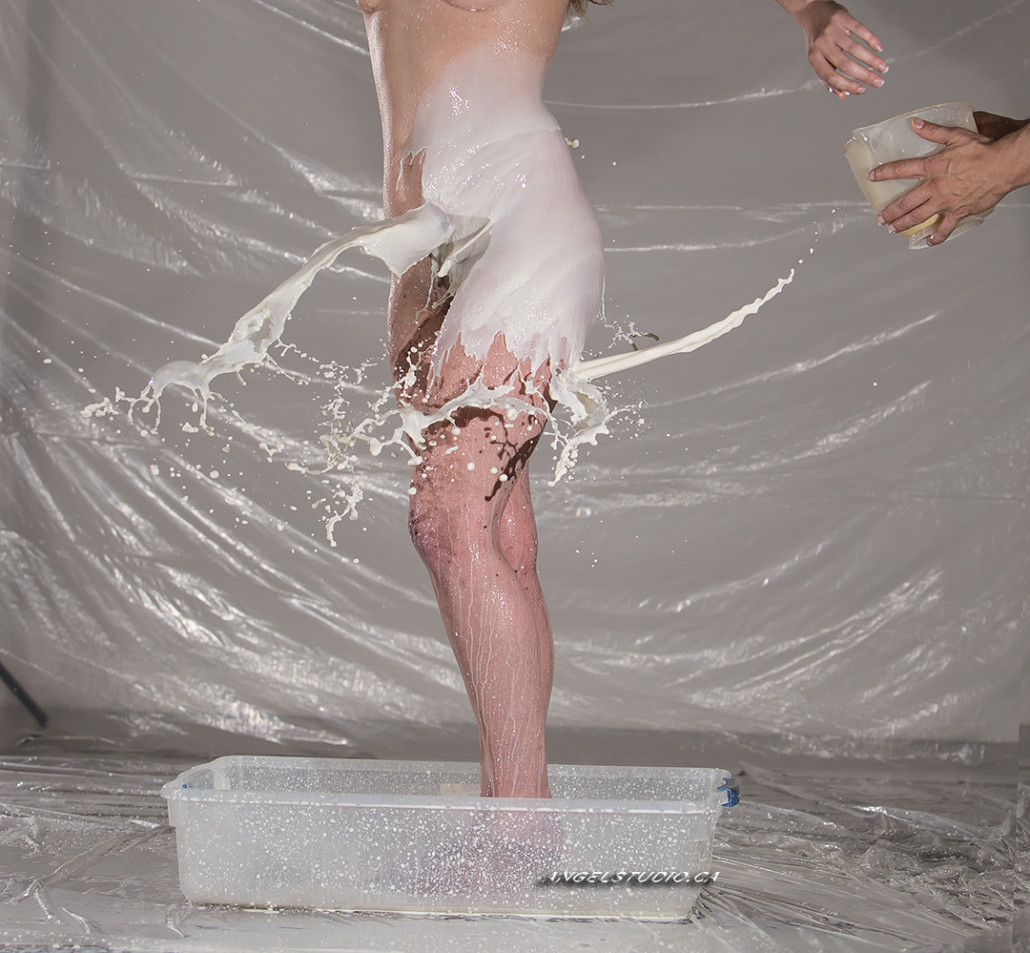
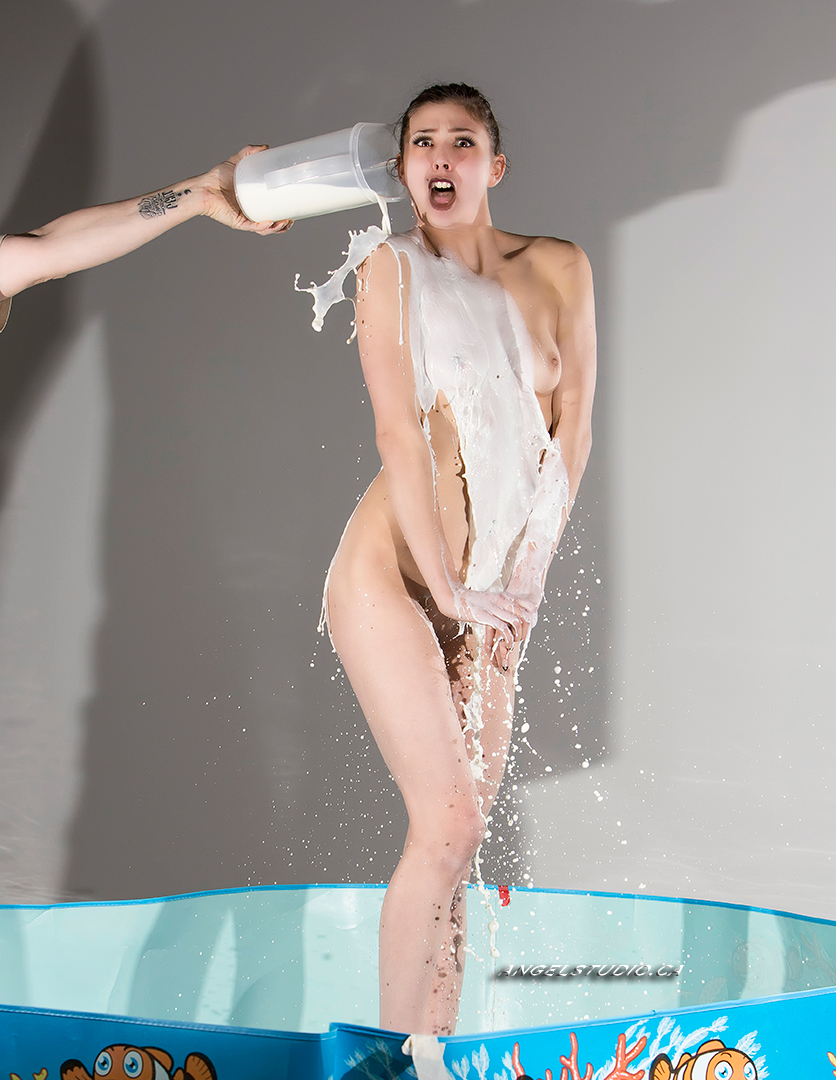
There are may different ways to apply milk. Being a milkman/woman/person isn’t easy either. There’s a bit of a learning curve. Throwing it creates white feather-like texture. Pouring it emulates form fitting latex. The edge of a pour becomes important. Wide spouts/narrow spouts on your pouring vessels can play a role.
Now…you will need a model. This is very important! We suggest one entices them with claims of amazingly soft skin post shoot and shower. Milk really does that! You may also wave the immortality card directly in their faces. If this is your first shoot, she may only get guinea pig status. Let her know in advance! In choosing your model aim for less tattooed over a…er…more inky one. This will become apparent post shoot as a tattoo will change colour depending on how thickly the milk covers. If she does sport some personal expressions on her skin, simply point those areas away from lens or obscure with a limb. When you’re sampling later, you’ll appreciate the options open that would have been closed.
Modelling for a milk dress isn’t as easy as it seems. Instruct the obvious to your model; We ask her shave everything below her shoulders prior to a shoot. Milk tends to ‘bunch up’ on stubble. The effect we want needs smooth skin. This is probably why there aren’t as many milk clothes for men.
Tripod the camera for the entire shoot. Do not move it at all after shooting begins. Again, this is for post production use. As for tripods, I despise flip clips. They can slip. I prefer the durability of a screw tight leg clamps so for that reason, I have an old Benbo. If you turn one bar, the entire tripod goes limp. Turn it the other way and it becomes solid like a T-37 tank. Downside, we wish the legs were longer and it weighs something similar to a T-37 tank. Great for the studio and a rock on trips if you feel you need the exercise.
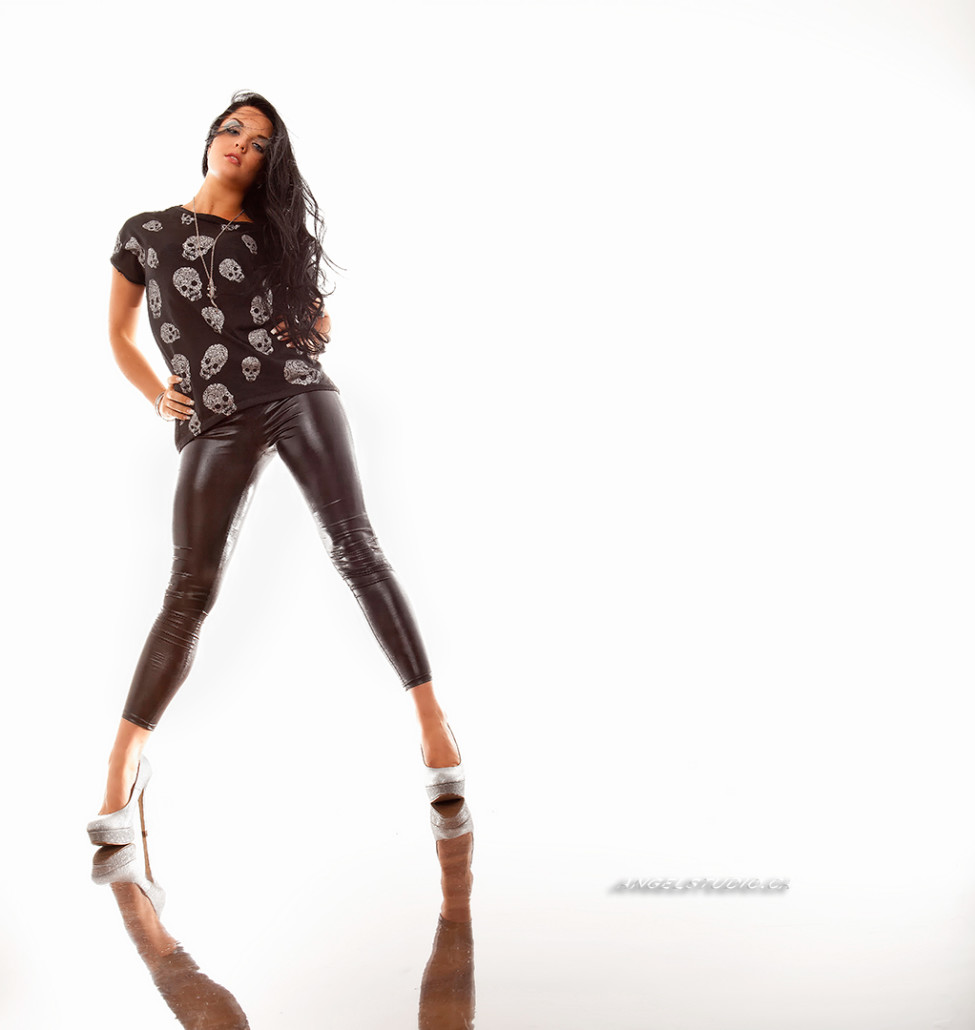
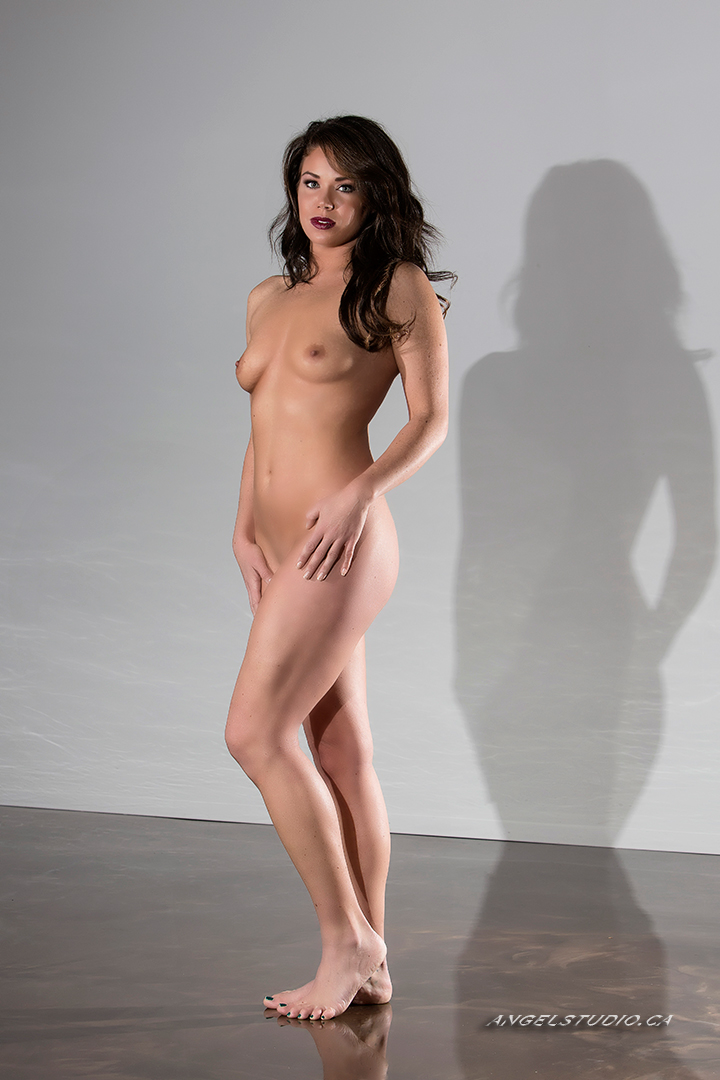
The first captures are what we call a baseline. The effortless and graceful pose of our model in the final version was taken here at the beginning of the shoot. We shoot on a bare floor with a mark installed on the sweet spot. At this point we are just looking for images with dry, unmilked, skin. So. If she has long hair, it can be down now. We chat and have fun. We look for a pose that is flattering to the model. We find the best side and maximize the curves shown to the lens. The model has to be able to hold that pose on and off for an about 2 hours maximum so it should be comfortable. Once we have a pose that we are happy with we can take a break.
At this point we prepare for the pouring/tossing/flinging of milk. We have a kiddie pool with high sides and a 24″ X 20″ tupperware basin. Our model stands in the tupperware which sits within the kiddie pool. 80% of the run off milk falls into the tupperware. We recycle that milk. It’s been warmed by the model already, but watch out for bubbles caused handling it. We use the pool to catch 80% of the over spray. This is important as your milk person would prefer not to walk in milk splash and if they do, it gets messy. We try to keep up with stray spray, but eventually cede an area of studio floor to the ‘milk zone’. Do warn your model that her footing will get slippery. The last thing to do is replicate the mark inside the tupperware so the model knows where to stand.
Now we have to talk in the model to resume that exact baseline pose. Here, chimping is necessary! Take care and be meticulous. Shoulders must point the same way, hips must align with baseline image. Don’t forget feet and hands. It means less work post studio. Blaze that pose into your mind because the model will unintentionally introduce pose drift. Her pose can change completely rendering a group of frames unusable. Lots of redirection helps.
We have visualized the dress we want to create before we even to our baseline shoot. This helps to shoot accordingly. We will then know roughly the content we need. It doesn’t always go to plan. Sometimes the shoot produces images that strongly suggest a plan B. We like to reach our goal more organically. The bottom line is the actual dress decision is dictated by the splashes we get.
We are ready to shoot. We wake up our speed guns and camera, perform one last check on the settings to make sure all is right. (our equivalent to measure twice, cut once) There should be more fanfare, but we just start pouring milk. The model usually squeaks or gasps even though we leave the milk out of the fridge for several hours prior to the shoot. She will acclimate. Most do. To date we have only lost one who couldn’t. Empathize and move on because it’s only starting.
The thing to remember is do not settle for simply one pour to cover her shoulder and breast. It takes dozens! The more you have to sample from later, the better. Err on the side of greedy. We usually cycle through covering all body parts twice. Once the model goes home and the milk is cleaned up, we don’t want to go through it all over again because something was not right. A shoot can produce 400+ files.
We know we’ve mentioned it before, but always keep in mind pose drift. It is real! Remind her to be on the mark. There are nuances like elbow higher or lower, knees tighter together or more space between, etc. It all makes a difference later in post production. As we’ve mentioned earlier, modelling for a milk dress isn’t easy!
No other website or blog will give you the info we do! To that end, about an hour into the shoot, milk starts to smell cloyingly sweet. The model may get itchy as milk dries on her skin. A soft, wet cloth may be used, but no scratching please as it leaves red marks. No matter how much we try, milk gets all over the floor. Bring towels and spare socks. It’s going to get sloppy…

